Overview
Setting Up a CentOS 7 home server
I have been planning to set up a home server for a year now but have been putting it off. This week, with the COVID-19 lockdown, my husband and I pulled out the 3 ancient computers sitting in our garage to set up one decent home server. The purpose was mainly curiosity; to play with pieces of hardware and software to learn a few things and to have our own little server to test various pipelines. I have also been wanting to get my Linux admin certification, so it gives me a good medium to experiment with.
Hardware
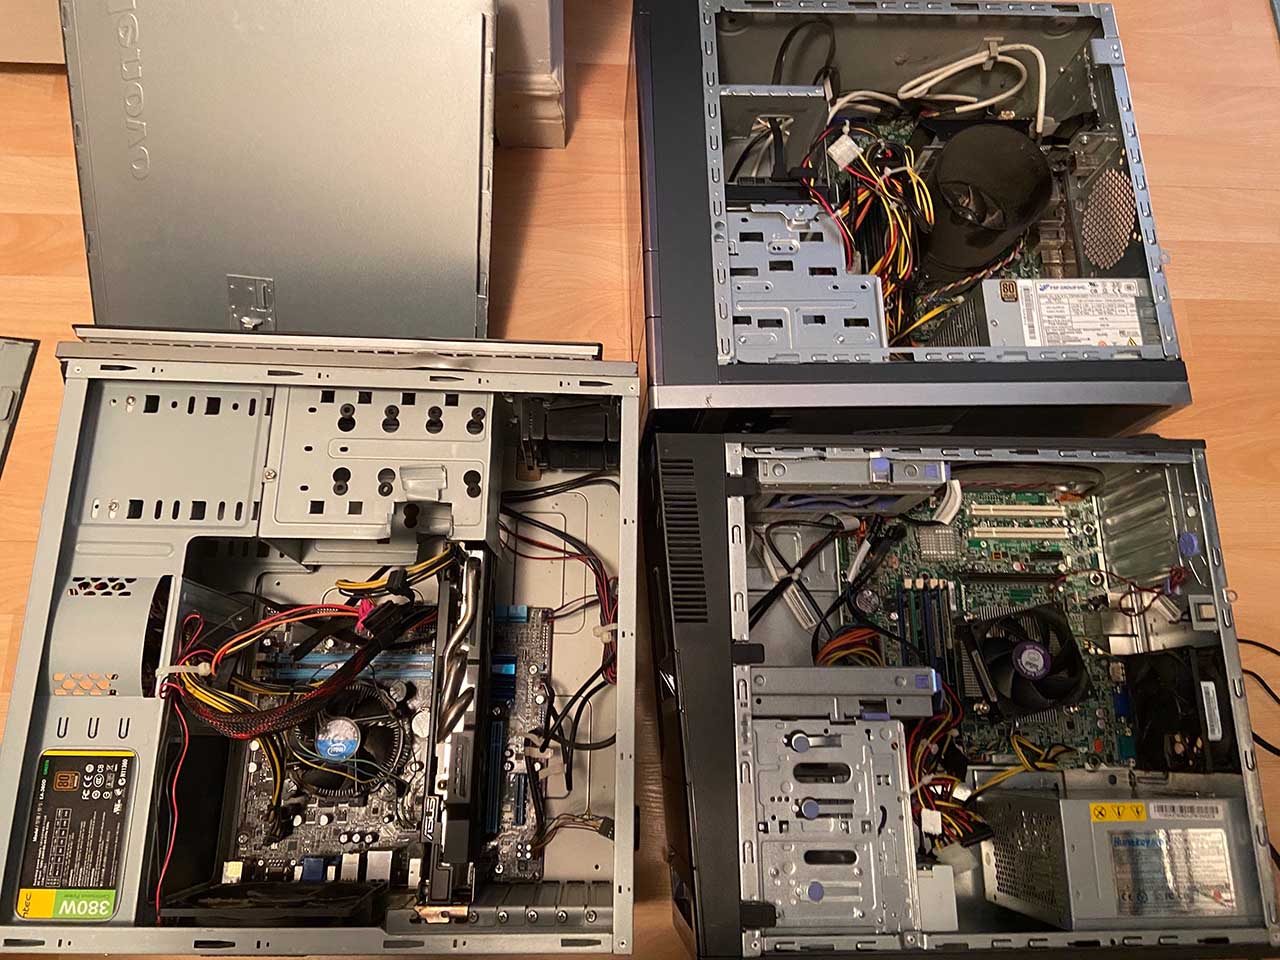
I had purchased a Lenovo tower from a colleague of mine for about 35$ last year in order to break it down into parts. It is an M81 ThinkCenter running Windows 7. It has an Intel Core i5 processor, 4 GB of RAM and a 500 GB drive. It was produced back in 2011 which makes it about 9 years old. We also had 2 other i3 towers that we got for free from a friend.
We opened up all 3 towers and pulled out the graphics cards, RAMs, hard drives and re-assembled the newer pieces into a single system on the lenovo board. The final product was a system with Intel Core i5, 14 GB of RAM, 1.5 TB drive and a primitive graphics card with an HDMI input which was absent in the lenovo system; not great specs by today’s standards but good enough for 35$ and for a system that is intended to be abused. The initial model did not have a Network card to connect to the internet so we added a Wi-Fi USB adapter.

Software
I decided to install CentOS 7 on the system. I chose CentOS because I was more interested in a server distribution and not a Linux desktop version. CentOS is the distribution chosen for most research servers. In fact, 7⁄7 servers I use regularly have some verion of CentOS. CentOS is stable and secure. It is well documented, but not as well as Ubuntu. I wanted a distribution that was not too easy to set up, as part of my learning process. Digging through forums and learning how to sift through information and find resources is a learnt skill.
Installing CentOS 7
There were several steps to installing a new OS which were summed up well on most references. I wanted a single boot system with CentOS 7 only. I had my mac on the side for help with references and downloads.
1- Download Linux iso file:
I downloaded the CentOS 7 Minimal iso file from the CentOS website. I wanted the Minimal version, which comes with less tools, in order to customize the system and learn how to do things from scratch.
Note: It is always a good idea to validate the checksum of the downloaded file to avoid failures due to incomplete or corrupt downloads.
2- Create a bootable USB drive with the iso file
On my Mac, I plugged in the USB to check the name of the USB drive by typing in the terminal:
df -h
The USB port I use on my mac is named disk2
Create bootable USB drive:
#sudo dd if=<isoLocation> of=/dev/r<nameOfDisk> bs=1m
For me this becomes:
sudo dd if=~/Downloads/CentOS-7-x86_64-Minimal-1908.iso of=/dev/rdisk2 bs=1m
3- boot computer from USB drive
Try to turn on the server to be with the bootable USB plugged in. If it does not boot from the device automatically, or doesn’t give you the option, then you need to change the boot sequence/exclusions from the BIOS.
Changing the boot sequence in the BIOS
BIOS edits (click here)
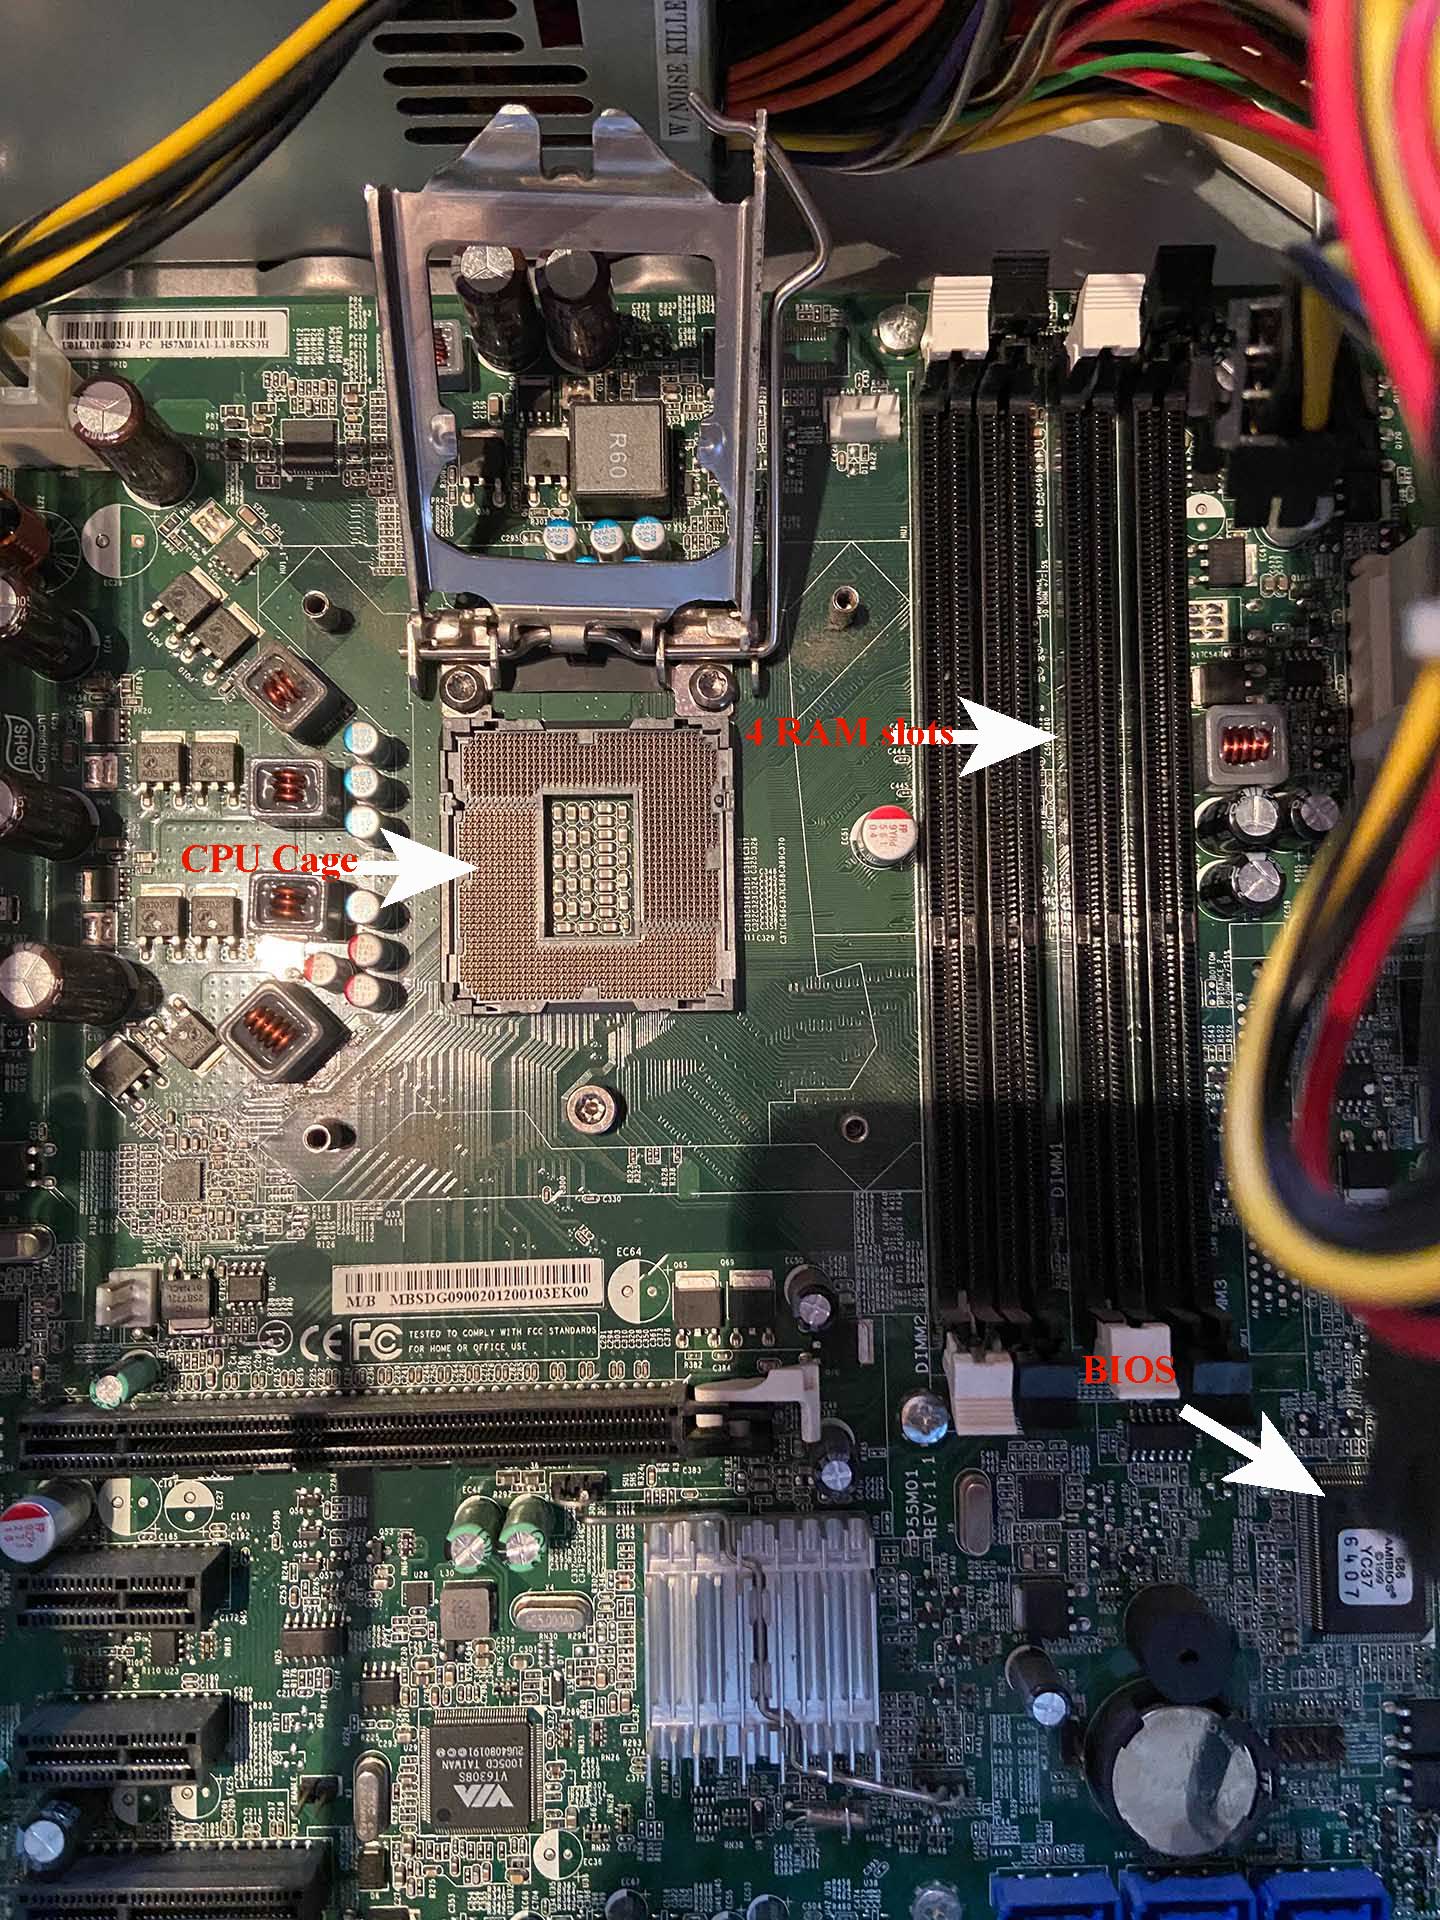
The BIOS (Basic Input Output Subsystem) is a chip on your system that links your computer hardware to the software installed. The BIOS controls a lot of core settings of your system. When an OS is installed, it is usually on the hard disk. To boot from a USB, you need to access the system BIOS, by pressing F12 (can be F2, F8 or F10) when you turn on the computer and before the OS launches, if one is installed. From the “Startup” menu, you would need to examine the “Boot Sequence” and make sure the USB port you are using is not excluded in the boot order and you need to give it higher priority than the hard disk. Once you do, you can restart the system. It is supposed to boot from the USB and the CentOS installer will be launched. Follow instructions to complete the installation.

We found this link to be useful.
We finally set up the internet connection and configured ssh.
The actual experience
Although it seems like a simple list of 3 steps, things are rarely as simple as they seem. Installations are often complicated as they depend largely on your system’s environment, libraries, versions and compatibilities. You are lucky if the default instructions work for you off the bat. These 3 steps took roughly 3 days to complete, partly because we were working on it casually and partly because the system we built is very old and adjustments needed to be made. We had to update the Lenovo BIOS as our earlier attempts all failed.
Since these things are very different depending on hardware and software, you will need to go through forums to fix issues as they come up. My advice, as with anything, is to work slowly, keep a log of what you tried, what worked and what didn’t, and work in a stepwise fashion, testing after every step to avoid falling into a situation where you can’t isolate the failed step.
Process Complete! We now have a CentOS server that we are slowly configuring. We bashed the other 2 computers and played with their parts. In all, it was a fun project to do together.
Updating the BIOS
BIOS update (click here)
Look for instructions on the website of the motherboard manufacturer before looking at other sites. We found useful instructions on the Lenovo site.
What’s next?
Now that the system is there, I will slowly explore it and mess with it. I will write a series of posts on various tasks. Eventually, I’d like to get my Linux certification before the end of the year.
comments powered by Disqus